
소매점용 상업용 LED 디스플레이 설치 가이드
LED 디스플레이 설치 전략 수립소매 공간의 레이아웃과 통행 흐름 분석LED 디스플레이 설치 계획을 세울 때는 고객이 이동하고 사물을 보는 데 영향을 주는 매장 레이아웃을 고려해야 합니다. 화면의 위치를 잘 잡는 것이 중요합니다...
더 보기

홈페이지 >
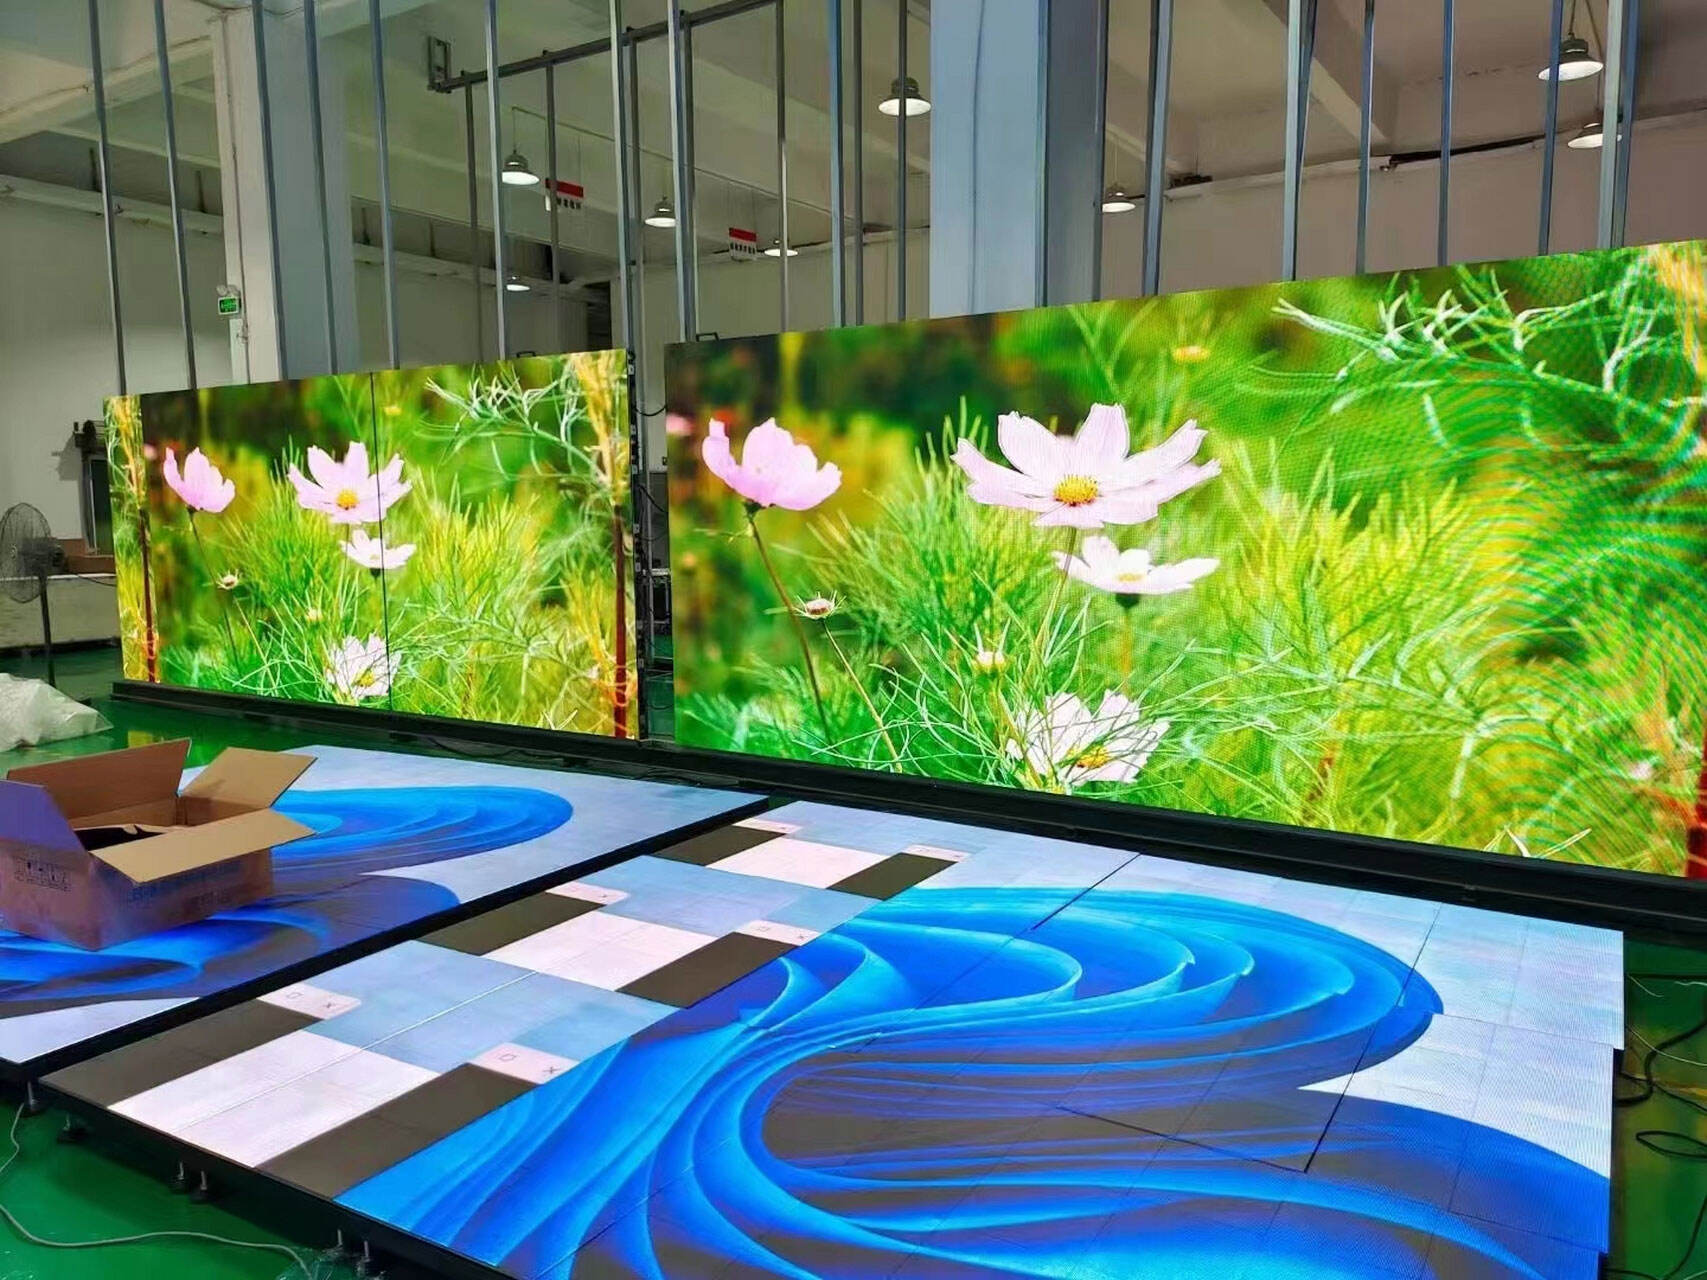
스크린 타일을 설치하는 방법을 아는 것은 공간 치수, 전원 접근성, 설치 표면(벽, 바닥 또는 천장)을 평가하기 위한 현장 준비 작업부터 시작하여 매끄러운 정렬, 견고한 설치 및 최적의 성능을 보장하는 체계적인 과정을 수반합니다. 먼저 설치 구조물이 수평이고 스크린 타일의 무게를 지탱할 만큼 충분히 견고한지 확인한 다음, 원하는 디스플레이 크기에 따라 타일 배열을 배치하고 정렬을 안내할 위치를 표시합니다. 다음으로, 정밀 레일이나 커넥터와 같이 조밀한 틈 없는 조인트를 보장하도록 설계된 인터록킹 메커니즘을 사용하여 스크린 타일을 연결하고 나사나 브라켓으로 설치 구조물에 고정하되 과도한 조임으로 손상이 발생하지 않도록 주의해야 합니다. 물리적인 설치 후 각 타일에 전원 케이블을 연결하고, 가능하다면 배선을 단순화하기 위해 다이시 체인 방식을 활용하고, 데이터 케이블을 연결하여 모든 스크린 타일에서 동기화된 콘텐츠 전송이 이루어지도록 해야 합니다. 전문 LED 디스플레이 제조사인 Sunrise는 전체 조립 전 각 스크린 타일의 전원 및 신호를 개별적으로 테스트한 후 자체 소프트웨어를 사용하여 전체 디스플레이의 밝기와 색상이 균일하도록 캘리브레이션하는 것이 통합된 시각적 경험을 달성하는 데 있어 필수적인 단계라고 권장합니다. 야외 설치의 경우 Sunrise의 방수 테스트룸에서 검증된 대로 연결부를 습기로부터 보호하는 가이드라인을 따르고, 현지 전기 규격을 준수해야 합니다. 소매점 비디오월이나 이벤트 디스플레이용 스크린 타일 설치 여부와 관계없이 Sunrise의 스크린 타일이 갖춘 모듈식 설계와 사용자 친화적인 기능과 함께 이러한 단계들을 따르면 기술 전문 지식이 기본적인 사용자라도 설치 과정에서 오류를 최소화하면서 디스플레이의 성능과 수명을 극대화할 수 있습니다.

25
Mar
03
Apr
03
Apr
10
Apr